


Creating a Flutter application with flavors (aka environments) with AWS Amplify and very_good_cli


When you work on big scale applications, keeping the data and behavior of your app predictable becomes an important topic. A slight change that you make in your app might end up breaking the entire structure. To prevent an unexpected disaster, flavors (or environments) come to the rescue.
A flavor is a variant of your application. Each flavor can have an independent implementation of your application. The different implementations can be on the backend side or the frontend side. You can test these implementations. When they are ready to be merged, then you can merge them to the production.
In this article, you will learn how you can create development, staging and production flavors for a simple shopping list application using Flutter and AWS Amplify.
Creating a Flutter Project with Flavors
There are several ways of creating a Flutter project. You can use the flutter create command from the Flutter SDK or you can use templating libraries from the community. For this article we will use very_good_cli.
Very Good CLI is an open source command-line tool built by Very Good Ventures which enables you to generate a scalable Flutter starter project. It enables several tools and commands for your use. It brings a core application with supports for:
- Build Flavors
- Internationalization support
- Logging
- Testing
- and many more opinionated implementations.
For enabling very_good_cli write the following to your terminal:
dart pub global activate very_good_cli
This will enable the very_good command globally. You will use the create command to create the Flutter application.
very_good create flavor_example
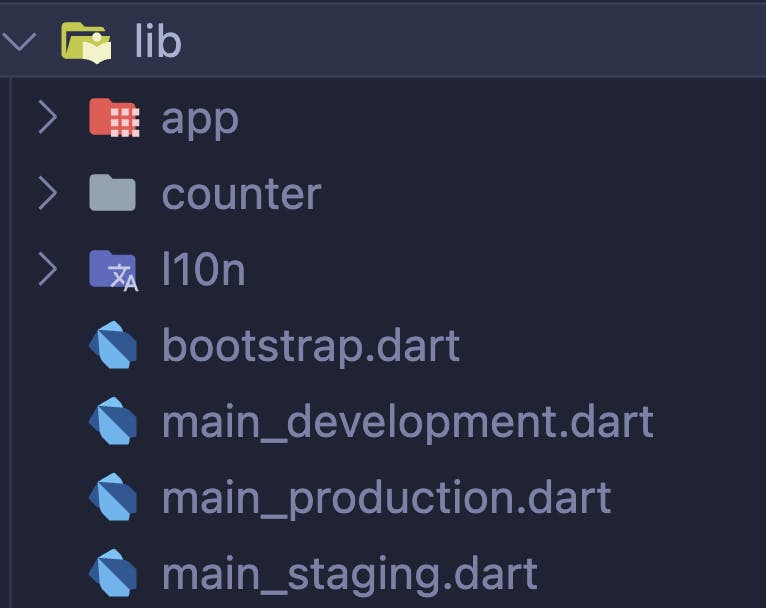
Once the project is ready, open it with your IDE. Under the lib folder, you will see three different main Dart files.
Each entry point is a variety of your application. Let’s change the App widget under the lib/app/view folder to show the differences between flavors:
class App extends StatelessWidget {
  const App({
    // Add the title to constructor
    required this.title,
    super.key,
  });

  // Add a new title property
  final String title;

  @override
  Widget build(BuildContext context) {
    return MaterialApp(
      ...
      // Send the title to counter page
      home: CounterPage(title: title),
    );
  }
}
This will force each application type to have a title. Now update the CounterPage widget to accomodate the title:
class CounterPage extends StatelessWidget {
  const CounterPage({
    // Add title to the constructor
    required this.title,
    super.key,
  });

  // Add a reference to the title
  final String title;

  @override
  Widget build(BuildContext context) {
    return BlocProvider(
      create: (_) => CounterCubit(),
      // Send the title to CounterView
      child: CounterView(title: title),
    );
  }
}

class CounterView extends StatelessWidget {
  const CounterView({
    // Add title to the constructor
    required this.title,
    super.key,
  });

  // Add a reference to the title
  final String title;

  @override
  Widget build(BuildContext context) {
    final l10n = context.l10n;
    return Scaffold(
      // Add the title to the AppBar right next to the previous title
      appBar: AppBar(title: Text('${l10n.counterAppBarTitle} / $title')),
      ...
    );
  }
}
Once you are done with this, you need to update each main file to send the respective flavor name.
// Development
void main() {
  bootstrap(() => const App(title: 'Development'));
}

// Staging
void main() {
  bootstrap(() => const App(title: 'Staging'));
}

// Production
void main() {
  bootstrap(() => const App(title: 'Production'));
}
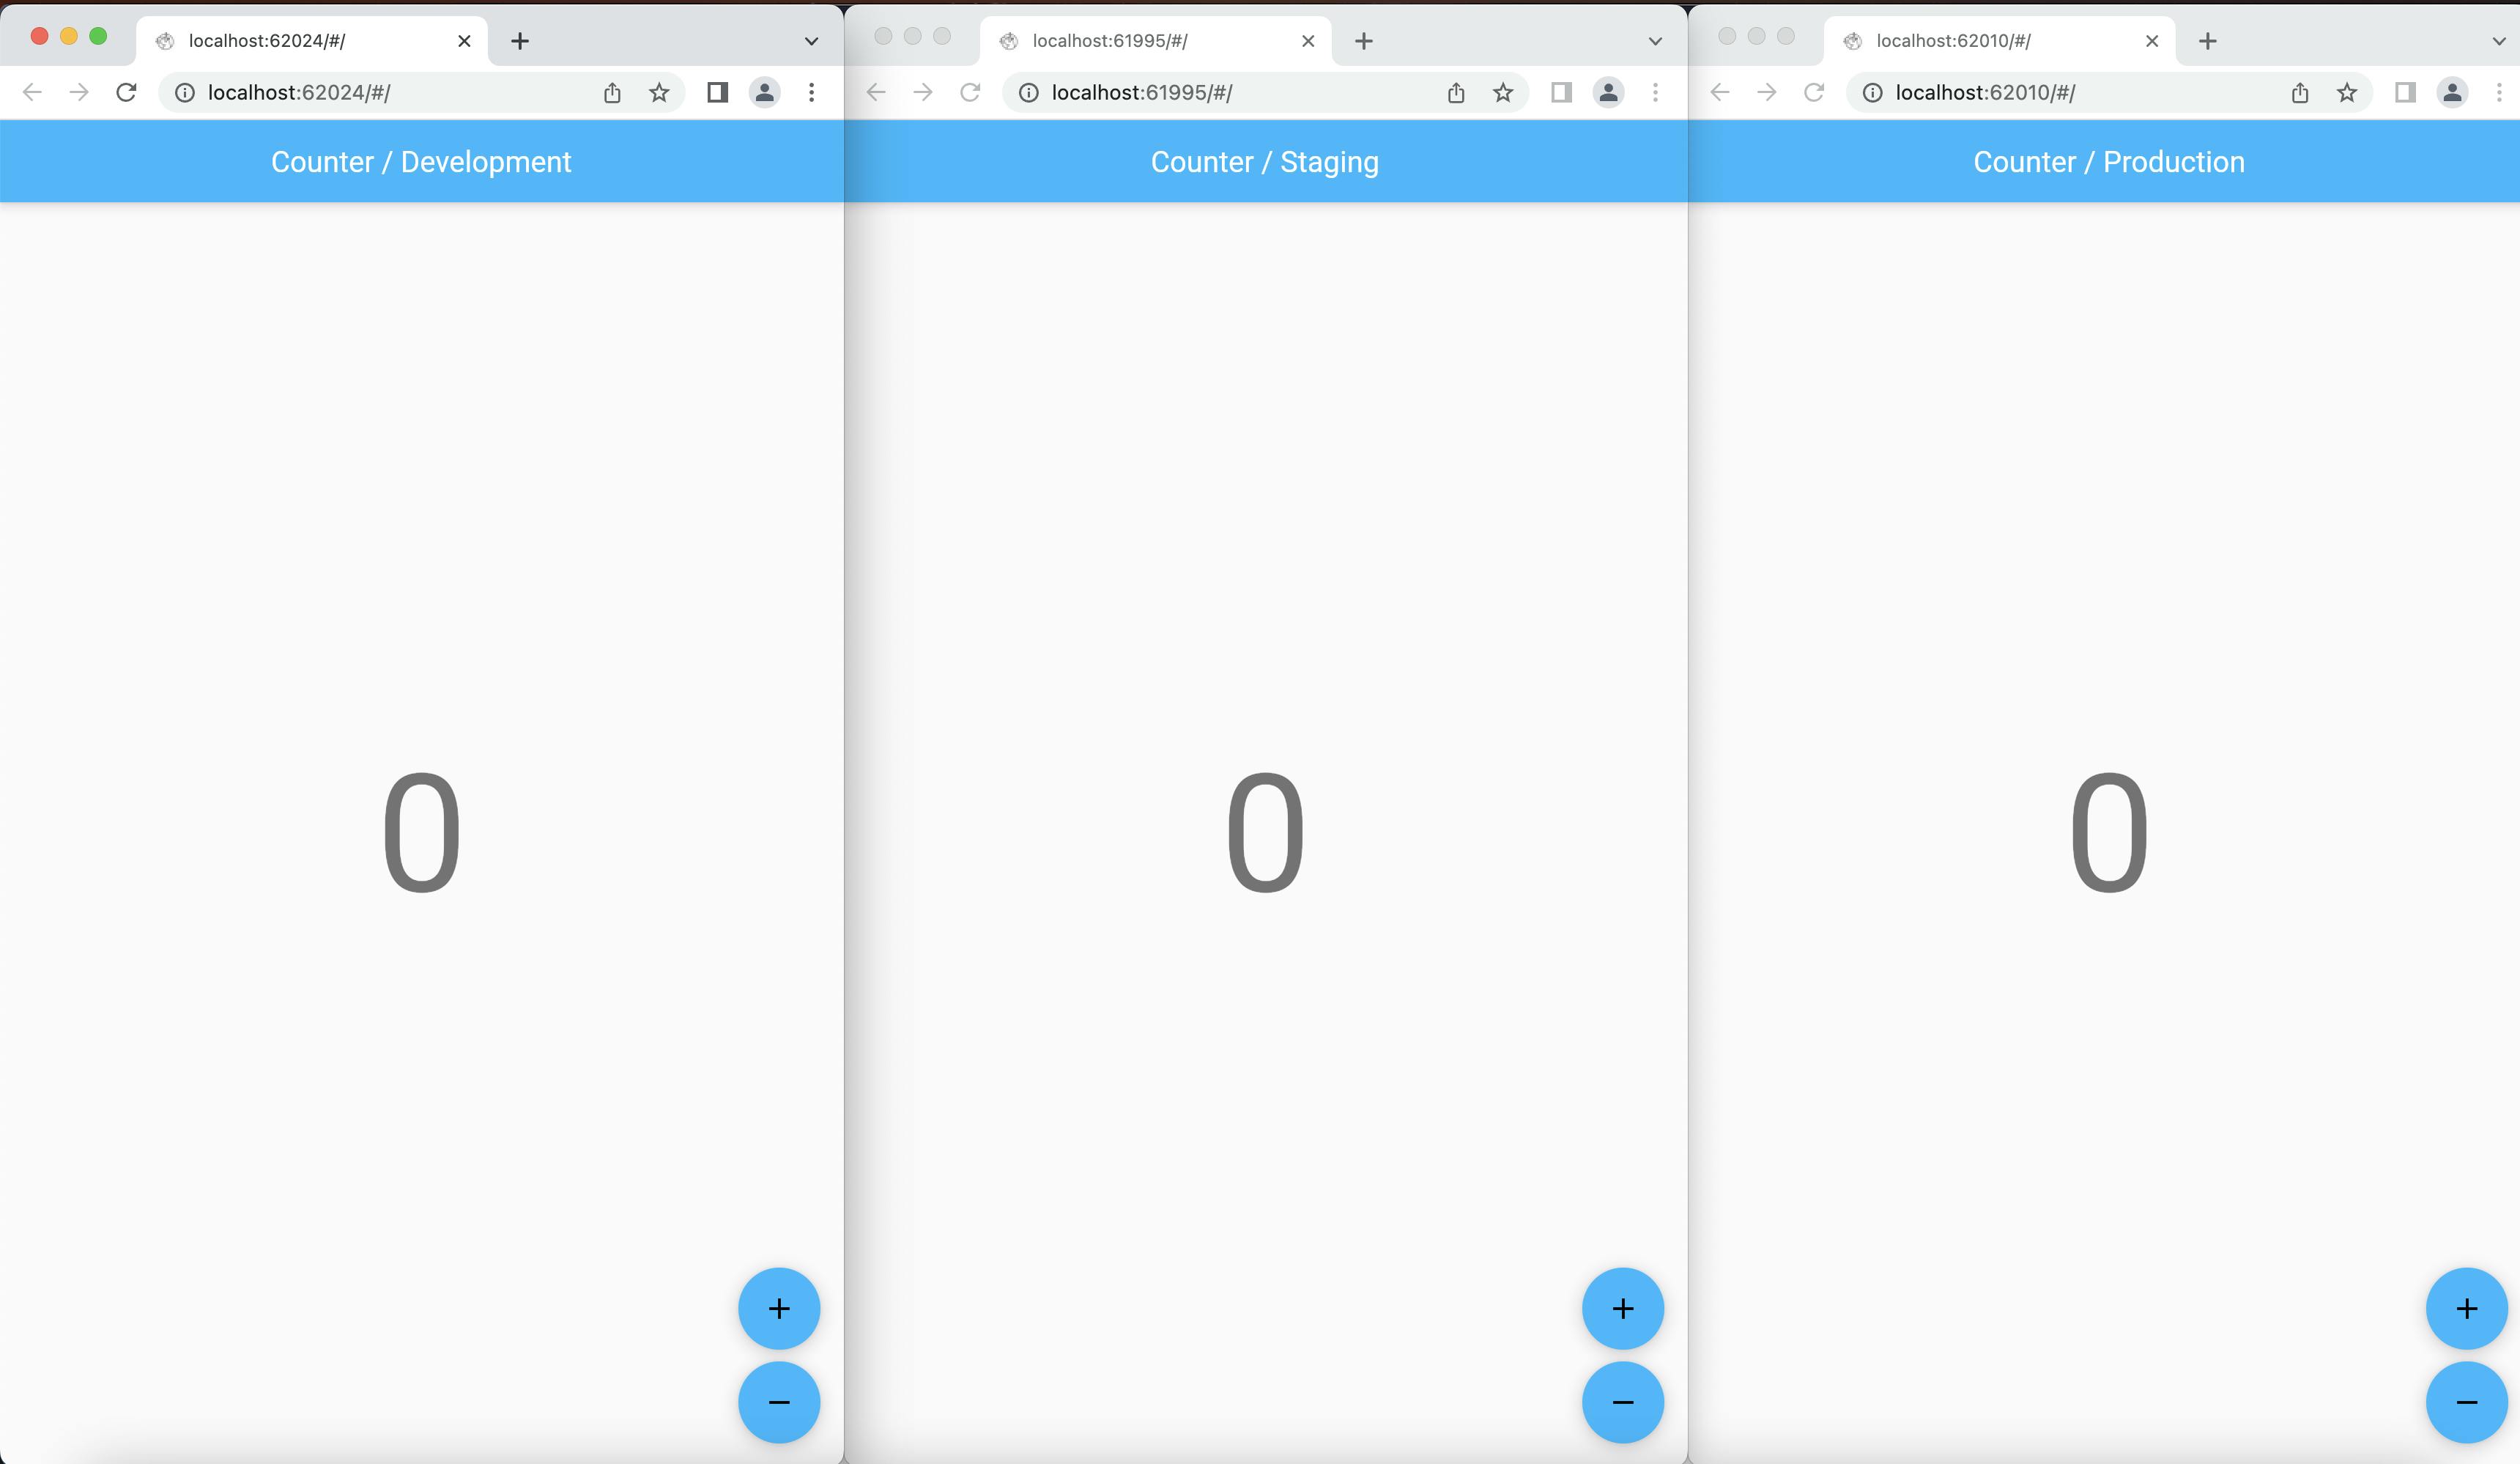
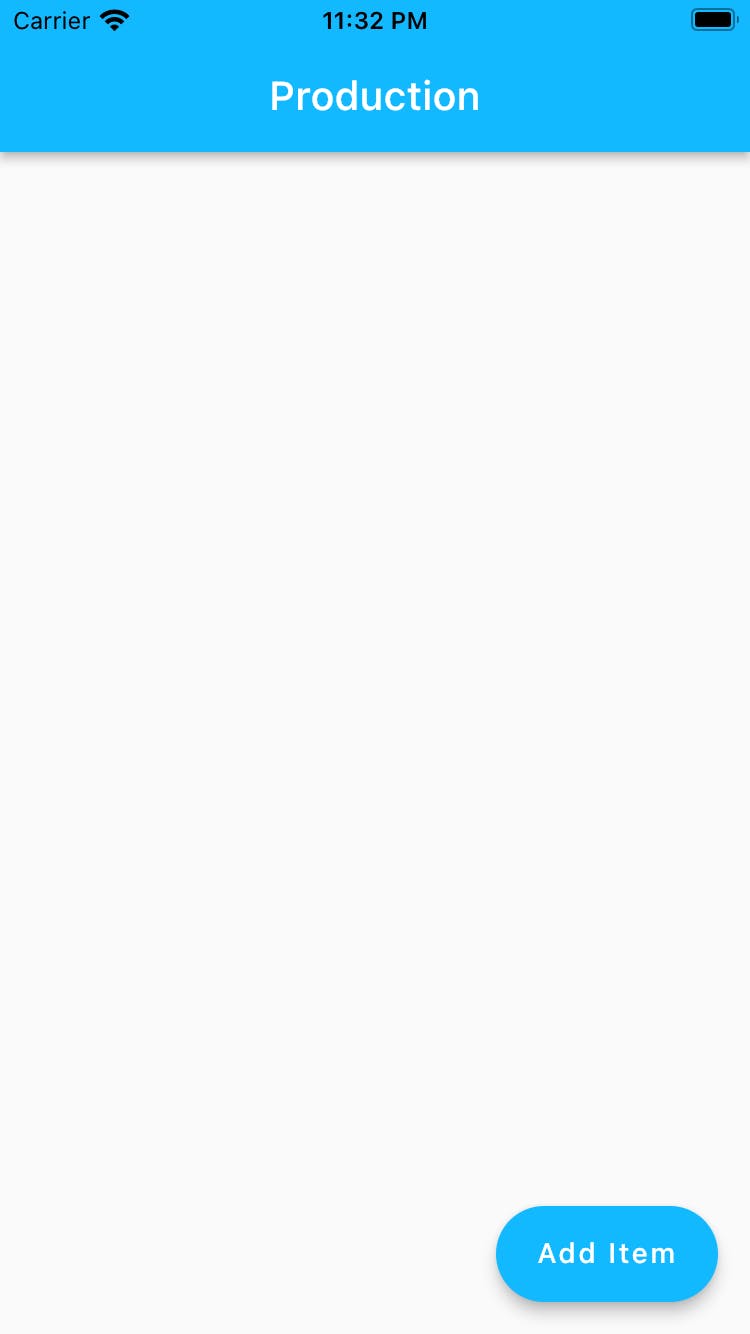
And once you run the application, now you can see that different flavors are indicated with their names at the app bar.
Adding Amplify to the Flutter Project
You need to install and configure Amplify CLI, if you do not have it yet check out the official docs.
For adding AWS Amplify libraries to your project, you need to:
- Initialize the project with AWS Amplify CLI
- Add Amplify libraries to your project
First of all you need to type amplify init to your terminal at the root folder of your project. You will be prompted to pick a project name and configurations, you can pick the default ones and continue or, you can select your own options as well.
For creating our first flavor, we will not use the default options. So when prompted, select no and create your own configuration as follows:
Project information
| Name: flavorexample
| Environment: dev
| Default editor: Visual Studio Code
| App type: flutter
| Configuration file location: ./lib/

? Initialize the project with the above configuration? No
? Enter a name for the environment staging
? Choose your default editor: Visual Studio Code
? Choose the type of app that you are building flutter
Please tell us about your project
? Where do you want to store your configuration file? ./lib/
Using default provider  awscloudformation
? Select the authentication method you want to use: AWS profile

For more information on AWS Profiles, see:
https://docs.aws.amazon.com/cli/latest/userguide/cli-configure-profiles.html
This way you will be creating a new environment called staging. We will create the other environments later on.
Once you select your profile, continue by adding GraphQL API to your project.
Run amplify add api on your terminal to create a new GraphQL API.
msalihg@ flavor_example % amplify add api
? Select from one of the below mentioned services: GraphQL
? Here is the GraphQL API that we will create. Select a setting to edit or continue Continue
? Choose a schema template: Blank Schema

⚠️  WARNING: your GraphQL API currently allows public create, read, update, and delete access to all models via an API Key. To configure PRODUCTION-READY authorization rules, review: https://docs.amplify.aws/cli/graphql/authorization-rules

✅ GraphQL schema compiled successfully.
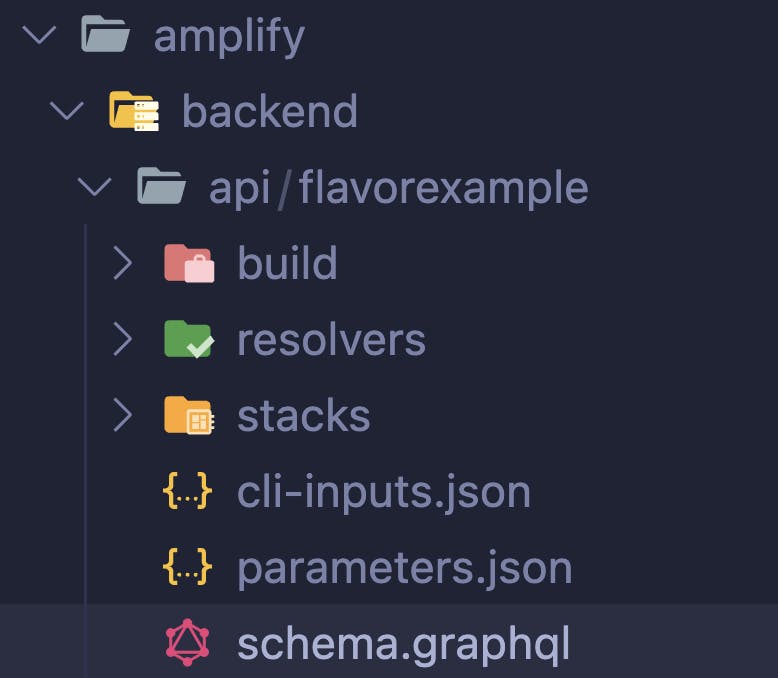
Now it is time to fill out the schema to keep your shopping list items, you can find the schema at the amplify/backend/api/flavorexample folder:
After you go there delete everything inside and paste the code below.
type ShoppingListItem @model @auth(rules: [{ allow: public }]) {
    id: ID!
    name: String!
    description: String
}
Next thing that should do is to push your changes to the cloud by running amplify push:
msalihg@ flavor_example % amplify push
⠏ Fetching updates to backend environment: staging from the cloud.✅ GraphQL schema compiled successfully.

Edit your schema at /Users/msalihg/Desktop/development/flavor_example/amplify/backend/api/flavorexample/schema.graphql or place .graphql files in a directory at /Users/msalihg/Desktop/development/flavor_example/amplify/backend/api/flavorexample/schema
✔ Successfully pulled backend environment staging from the cloud.
⠴ Building resource api/flavorexample✅ GraphQL schema compiled successfully.

Edit your schema at /Users/msalihg/Desktop/development/flavor_example/amplify/backend/api/flavorexample/schema.graphql or place .graphql files in a directory at /Users/msalihg/Desktop/development/flavor_example/amplify/backend/api/flavorexample/schema

    Current Environment: staging

┌──────────┬───────────────┬───────────┬───────────────────┐
│ Category │ Resource name │ Operation │ Provider plugin   │
├──────────┼───────────────┼───────────┼───────────────────┤
│ Api      │ flavorexample │ Create    │ awscloudformation │
└──────────┴───────────────┴───────────┴───────────────────┘
? Are you sure you want to continue? Yes
✅ GraphQL schema compiled successfully.
Creating Backend Flavors
For multiple environments (flavors), Amplify matches the standard Git workflow. You can run amplify env checkout staging for switching to staging environment.
For creating a new environment you need to use amplify env add <environment-name>.
Environment name should be between 2 and 10 characters (only lowercase alphabets).
Let's start by creating a development environment:
amplify env add dev
After you add the environment, you should call amplify push to upload your changes to the cloud. Once you run the push command, you can see that, it will get the changes from your initial environment and ask to push it.
msalihg@bcd074760e20 flavor_example % amplify push
⠧ Fetching updates to backend environment: dev from the cloud.✅ GraphQL schema compiled successfully.

Edit your schema at /Users/msalihg/Desktop/development/flavor_example/amplify/backend/api/flavorexample/schema.graphql or place .graphql files in a directory at /Users/msalihg/Desktop/development/flavor_example/amplify/backend/api/flavorexample/schema
✔ Successfully pulled backend environment dev from the cloud.
⠧ Building resource api/flavorexample✅ GraphQL schema compiled successfully.

Edit your schema at /Users/msalihg/Desktop/development/flavor_example/amplify/backend/api/flavorexample/schema.graphql or place .graphql files in a directory at /Users/msalihg/Desktop/development/flavor_example/amplify/backend/api/flavorexample/schema

    Current Environment: dev

┌──────────┬───────────────┬───────────┬───────────────────┐
│ Category │ Resource name │ Operation │ Provider plugin   │
├──────────┼───────────────┼───────────┼───────────────────┤
│ Api      │ flavorexample │ Create    │ awscloudformation │
└──────────┴───────────────┴───────────┴───────────────────┘
? Are you sure you want to continue? Yes
✅ GraphQL schema compiled successfully.
Afther the push happens, create production environment and push that as well.
amplify env add prod
Now that you created all the flavors, let's switch back to development environment first by running amplify env checkout dev and update the application to have a UI to add some shopping cart items.
Updating the UI
DISCLAIMER: If you want to continue with the flavor/environment creation, you can skip the UI creation part
To update the UI, we will do a series of change. The changes will add:
- A new base UI with bottom sheet for adding an item
- A list of items that are added
- A UI update when a new item is added
Adding a new base UI with bottom sheet for adding an item
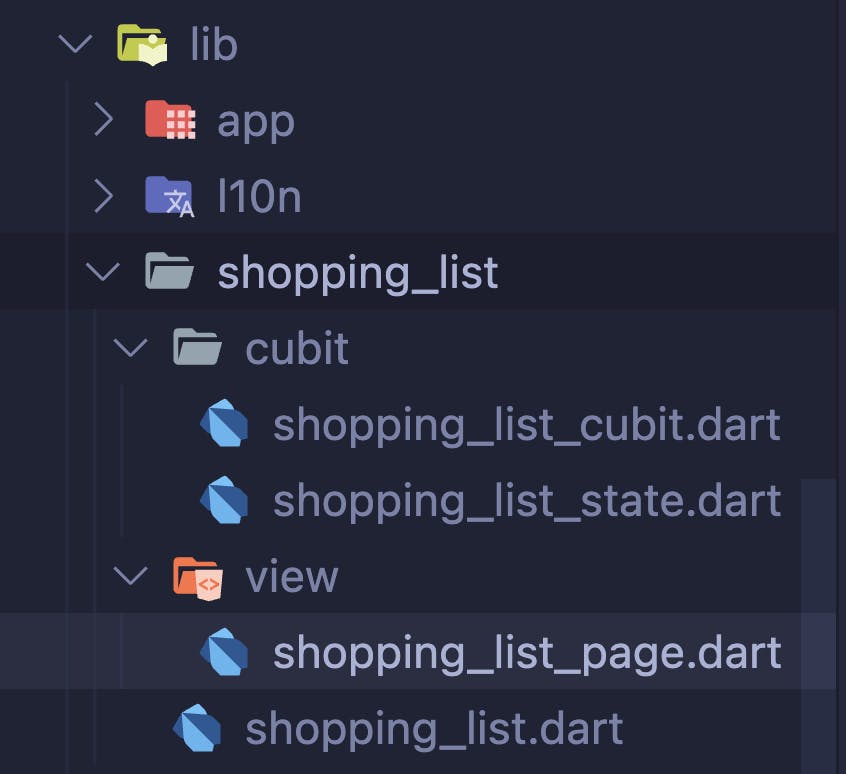
Let's start off by adding basic building blocks. For this reason, remove the counter folder. Under the lib folder create a new folder called shopping_list and add files with the same structure as it was with the counter folder.
Once you have the structure above, open shopping_list_cubit.dart and copy the following in it:
import 'package:bloc/bloc.dart';

part 'shopping_list_state.dart';

class ShoppingListCubit extends Cubit<ShoppingListState> {
  ShoppingListCubit() : super(ShoppingListInitial());
}
Then, open shopping_list_state.dart and paste following in:
part of 'shopping_list_cubit.dart';

abstract class ShoppingListState {}

class ShoppingListInitial extends ShoppingListState {}
Next, open the shopping_list.dart to export the files to be used:
export 'cubit/shopping_list_cubit.dart';
export 'view/shopping_list_page.dart';
Last but not least, open shopping_list_page.dart file and copy the following:
import 'package:flavor_example/shopping_list/shopping_list.dart';
import 'package:flutter/material.dart';
import 'package:flutter_bloc/flutter_bloc.dart';

typedef ThreeValueSetter<T, S, P> = void Function(
    T valueOne, S valueTwo, P valueThree);

class ShoppingListPage extends StatelessWidget {
  const ShoppingListPage({
    required this.title,
    super.key,
  });

  final String title;

  @override
  Widget build(BuildContext context) {
    return BlocProvider<ShoppingListCubit>(
      create: (context) => ShoppingListCubit(),
      child: _ShoppingListContainer(title: title),
    );
  }
}

class _ShoppingListContainer extends StatelessWidget {
  const _ShoppingListContainer({
    required this.title,
    super.key,
  });

  final String title;

  @override
  Widget build(BuildContext context) {
    return Scaffold(
      appBar: AppBar(title: Text(title)),
      floatingActionButton: FloatingActionButton.extended(
        onPressed: () => showModalBottomSheet<void>(
          context: context,
          isScrollControlled: true,
          builder: (_) => _AddShoppingListItemView(
            onItemAdded: (name, amount, description) {
              // Will be added later on
            },
          ),
        ),
        label: const Text(
          'Add Item',
          style: TextStyle(color: Colors.white),
        ),
      ),
      body: const _ShoppingListView(),
    );
  }
}

class _ShoppingListView extends StatelessWidget {
  const _ShoppingListView({super.key});

  @override
  Widget build(BuildContext context) {
    return BlocBuilder<ShoppingListCubit, ShoppingListState>(
      builder: (context, state) {
        return ListView.builder(
          itemBuilder: (context, index) => const ListTile(
            title: Text('Title'),
            subtitle: Text('Description'),
          ),
        );
      },
    );
  }
}

class _AddShoppingListItemView extends StatefulWidget {
  const _AddShoppingListItemView({
    required this.onItemAdded,
    super.key,
  });

  final ThreeValueSetter<String, String, String> onItemAdded;
  @override
  State<_AddShoppingListItemView> createState() =>
      _AddShoppingListItemViewState();
}

class _AddShoppingListItemViewState extends State<_AddShoppingListItemView> {
  late final TextEditingController _nameController;
  late final TextEditingController _descriptionController;
  late final TextEditingController _amountController;
  final _formKey = GlobalKey<FormState>();

  @override
  void initState() {
    super.initState();
    _nameController = TextEditingController();
    _descriptionController = TextEditingController();
    _amountController = TextEditingController();
  }

  @override
  void dispose() {
    _nameController.dispose();
    _descriptionController.dispose();
    _amountController.dispose();
    super.dispose();
  }

  @override
  Widget build(BuildContext context) {
    return Form(
      key: _formKey,
      child: Padding(
        padding: const EdgeInsets.all(12) + MediaQuery.of(context).viewInsets,
        child: Column(
          mainAxisSize: MainAxisSize.min,
          children: [
            TextFormField(
              controller: _nameController,
              validator: (value) {
                if (value == null || value.isEmpty) {
                  return 'Please enter name of the todo';
                }
                return null;
              },
              decoration: const InputDecoration(
                label: Text('Name'),
                border: OutlineInputBorder(),
              ),
            ),
            const SizedBox(height: 12),
            TextFormField(
              controller: _amountController,
              validator: (value) {
                if (value == null || value.isEmpty) {
                  return 'Please enter an amount for the item.';
                }
                return null;
              },
              keyboardType: TextInputType.number,
              decoration: const InputDecoration(
                label: Text('Amount'),
                border: OutlineInputBorder(),
              ),
            ),
            const SizedBox(height: 12),
            TextFormField(
              controller: _descriptionController,
              decoration: const InputDecoration(
                label: Text('Description'),
                border: OutlineInputBorder(),
              ),
            ),
            const SizedBox(height: 12),
            ElevatedButton(
              onPressed: () {
                if (_formKey.currentState!.validate()) {
                  widget.onItemAdded(
                    _nameController.text.trim(),
                    _amountController.text.trim(),
                    _descriptionController.text.trim(),
                  );
                  Navigator.of(context).pop();
                }
              },
              child: const Text('Add Shopping List Item'),
            ),
          ],
        ),
      ),
    );
  }
}
After you change the CounterPage with ShoppingListPage at app.dart file. Now you should have the basics of your application ready.
Adding a list of items that are added
Before we can add a list of items to be shown, we need to have a system to add items. For this purpose, we need to Amplify libraries to our project. Add the following to your pubspec.yaml file.
dependencies:
  amplify_api: ^0.6.8
  amplify_flutter: ^0.6.8
Amplify libraries supported from minimum iOS version 13 and Android version 21. If you want to run your applications on these platforms. Change them at their respective folders (projects).
Next step is generating our data classes from the GraphQL schema.
amplify codegen models
The command above will generate the model files that we can use to listen and add data.
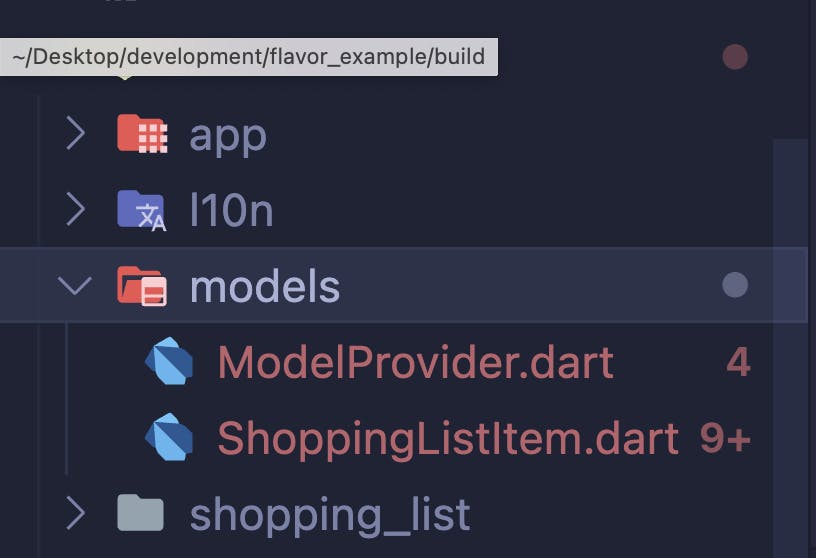
The prevent the noise from Amplify or any generated files go to analysis_options.yaml file on your project and exclude the generated files
analyzer:
  exclude:
      - lib/models/**.dart
Once they are added, you should configure the libraries and start using it. For configuration go to your bootstrap.dart file, under lib folder, and add the following:
Future<void> _configureAmplify() async {
  try {
    final amplifyApi = AmplifyAPI(modelProvider: ModelProvider.instance);
    await Amplify.addPlugin(amplifyApi);
    await Amplify.configure(amplifyconfig);
  } catch (e) {
    // error handling can be improved for sure!
    // but this will be sufficient for the purposes of this tutorial
    print('An error occurred while configuring Amplify: $e');
  }
}
Afterwards update the bootstrap function:
Future<void> bootstrap(FutureOr<Widget> Function() builder) async {
  FlutterError.onError = (details) {
    log(details.exceptionAsString(), stackTrace: details.stack);
  };

  Bloc.observer = AppBlocObserver();

  await runZonedGuarded(
    () async {
      WidgetsFlutterBinding.ensureInitialized();
      await _configureAmplify();
      runApp(await builder());
    },
    (error, stackTrace) => log(error.toString(), stackTrace: stackTrace),
  );
}
Now go to shopping_list_cubit.dart file and add the following function:
  Future<void> addShoppingListItem(
    String name,
    String amount,
    String description,
  ) async {
    try {
      final shoppingListItem = ShoppingListItem(
        name: name,
        count: int.parse(amount),
        description: description.isEmpty ? null : description,
      );
      final request = ModelMutations.create(shoppingListItem);
      final response = await Amplify.API.mutate(request: request).response;

      final createdShoppingListItem = response.data;
      if (createdShoppingListItem == null) {
        print('errors: ${response.errors}');
        return;
      }
      print('Mutation result: ${createdShoppingListItem.name}');
    } on ApiException catch (e) {
      print('Mutation failed: $e');
    }
  }
This function will create a ShoppingListItem and add it to the database. Now it is time to write a function to listen to the changes. Go back to shopping_list_cubit.dart file and add the following function:
  Future<List<ShoppingListItem>> queryListItems() async {
    try {
      final request = ModelQueries.list(ShoppingListItem.classType);
      final response = await Amplify.API.query(request: request).response;

      final shoppingList = response.data?.items
          .where((element) => element != null)
          .toList(growable: false);
      if (shoppingList != null) {
        return shoppingList as List<ShoppingListItem>;
      }
      print('Shopping list is empty: ${response.errors}');
    } on ApiException catch (e) {
      print('Query failed: $e');
    }
    return <ShoppingListItem>[];
  }
This will query the the shopping list data.
Now it is time to use these functions. Each of the calls to these functions will trigger a change in the state of our UI. For example, when the data is loading we will show a loading indicator and when there is an error, it should state the error message.
Go back to the shopping_list_state.dart file and update the file as follows:
part of 'shopping_list_cubit.dart';

abstract class ShoppingListState {
  const ShoppingListState();
}

class ShoppingListInitial extends ShoppingListState {
  const ShoppingListInitial();
}

class ShoppingListLoading extends ShoppingListState {
  const ShoppingListLoading();
}

class ShoppingListFailed extends ShoppingListState {
  const ShoppingListFailed(this.errorMessage);

  final String errorMessage;
}

class ShoppingListLoaded extends ShoppingListState {
  const ShoppingListLoaded(this.items);

  final List<ShoppingListItem> items;
}
And update the functions at the cubit to follow the states:
import 'package:amplify_api/amplify_api.dart';
import 'package:amplify_flutter/amplify_flutter.dart';
import 'package:bloc/bloc.dart';
import 'package:flavor_example/models/ShoppingListItem.dart';

part 'shopping_list_state.dart';

class ShoppingListCubit extends Cubit<ShoppingListState> {
  ShoppingListCubit() : super(const ShoppingListInitial()) {
    queryListItems();
  }

  Future<void> addShoppingListItem(
    String name,
    String amount,
    String description,
  ) async {
    try {
      final shoppingListItem = ShoppingListItem(
        name: name,
        count: int.parse(amount),
        description: description.isEmpty ? null : description,
      );
      final request = ModelMutations.create(shoppingListItem);
      final response = await Amplify.API.mutate(request: request).response;

      final createdShoppingListItem = response.data;
      if (createdShoppingListItem == null) {
        emit(ShoppingListFailed('errors: ${response.errors}'));
      }
      await queryListItems();
    } on ApiException catch (e) {
      emit(ShoppingListFailed('Mutation failed: $e'));
    }
  }

  Future<void> queryListItems() async {
    try {
      emit(const ShoppingListLoading());
      final request = ModelQueries.list(ShoppingListItem.classType);
      final response = await Amplify.API.query(request: request).response;

      final shoppingList = response.data?.items
          .whereType<ShoppingListItem>()
          .toList(growable: false);
      if (shoppingList != null) {
        emit(ShoppingListLoaded(shoppingList));
      } else {
        emit(ShoppingListFailed('Shopping list is empty: ${response.errors}'));
      }
    } on ApiException catch (e) {
      emit(ShoppingListFailed('Query failed: $e'));
    }
  }
}
Now last step is to go back to the shopping_list_page.dart file and update the _ShoppingListView widget.
class _ShoppingListView extends StatelessWidget {
  const _ShoppingListView({super.key});

  @override
  Widget build(BuildContext context) {
    return BlocBuilder<ShoppingListCubit, ShoppingListState>(
      builder: (context, state) {
        if (state is ShoppingListLoading) {
          return const Center(child: CircularProgressIndicator());
        }
        if (state is ShoppingListFailed) {
          return Center(child: Text(state.errorMessage));
        }

        if (state is ShoppingListLoaded) {
          final shoppingList = state.items;
          return ListView.builder(
            itemCount: shoppingList.length,
            itemBuilder: (context, index) {
              final listItem = shoppingList[index];
              return ListTile(
                title: Text(listItem.name),
                subtitle: listItem.description == null
                    ? null
                    : Text(listItem.description!),
                trailing: Text(listItem.count.toString()),
              );
            },
          );
        }

        return const SizedBox.shrink();
      },
    );
  }
}
And fill the onItemAdded property at _ShoppingListContainer class:
context.read<ShoppingListCubit>().addShoppingListItem(
   name,
   amount,
   description,
);
Now if you run the application, you can see that you can add items to the cloud and your device will show them when you run the application.
Now let's continue with the main topic.
Switching environments (again)
The application will look like this on development flavor:
Let's change the flavor to production by calling amplify env checkout prod and run the production application. Now you can see that the list is actually empty. The reason is that, development database and production database are completely separated.
Now let's make a change in the development flavor and see how you can update your application without losing data or breaking anything.
First amplify env checkout dev to go back to development. Afterwards, go to the schema.graphql file and update it as follows:
type ShoppingListItem @model @auth(rules: [{ allow: public }]) {
    id: ID!
    name: String!
    count: Int!
    isBought: Bool!
    description: String
}
As you can see, now we have a non-nullable boolean field to check if an item is bought or not.
Let's generate the model classes again for that amplify codegen models and push the changes to the cloud by running amplify push.
You can see it will ask if you would like to update the API and change your schema. Just say yes and push your changes.
Later on run your application on development mode again. You might see your application looks quite empty. All the added items are gone. And the reason is not we did not do any migration for our current data. We just sweeped the data that we have. Well this is exactly why you need flavors/environments. You can test or play around with the platform that is less important and you can still safely keep your user's data.
Now switch back to the production by calling amplify env checkout prod and run your application again:
For GraphQL schema changes you might be required to revert the schemas and regenerate your codes.
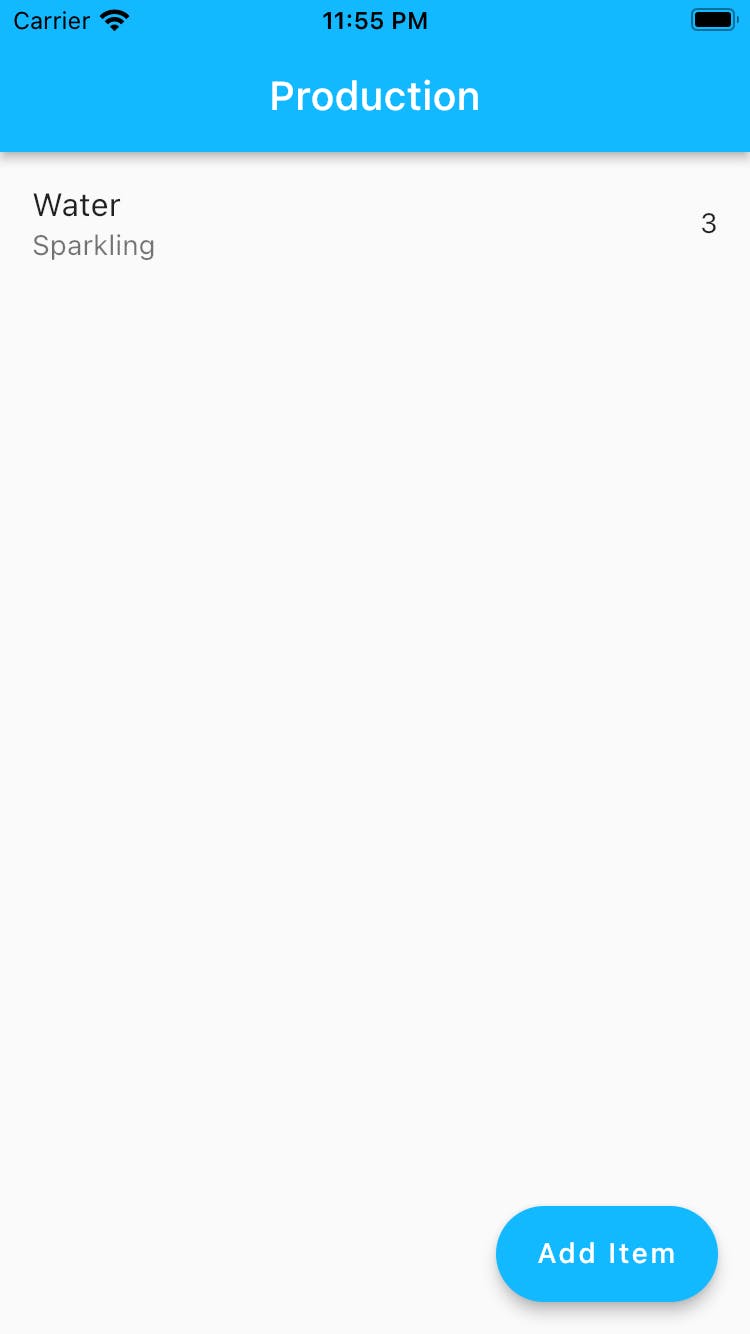
The data and the behavior is still working fine.
Conclusion
The importance of the environments can not be limited to one usecase, the testing benefit, distribution benefit and many more are also going to help you shape your product.
Keeping your applications under one roof and embracing actual environments can help you quickly pivot different databases and save a lot of time.
Now go ahead try this out, let me know what you think about this! As usual, if you have any questions regarding to the Amplify and Flutter topics you can either ask it at Amplify Discord or send it to me via DM on Twitter!