


Creating a Todo Application with Flutter, AWS Amplify and mason (in 15 minutes!)


The month of September is extra special this year. You can build an open-source app of your choice using AWS Amplify and its products during September. Publish an article on your Hashnode blog about the process of creating and launching your project for a chance to win one of the 15 cash prizes, AWS Amplify credits, and swags!
Hackathons are always exciting, but setting up a brand new project is always a challenge. You end up repeating the same steps over and over again to end up with the same flow, which (let's be honest) might feel like a waste of time. Luckily we have a way to make it easier for you when you start a new application with AWS Amplify.
On this blog post, you will learn how you can create a Flutter Todo application with GraphQL Backend and Authentication by using AWS Amplify and mason CLI in 15 minutes!
If you want a video guide, you can also check the YouTube video below:
Requirements
Before you move forward, be sure to have
- Flutter version 3.0+ is installed
- your AWS Account created
- Amplify CLI is installed and configured
Once you configure Amplify CLI be sure to have a profile with name "default". That would be used for this initialization. amplify_starter does not support selecting a profile yet.
If you do not know how to do it, you can check the official documentation or this blog post for detailed guide.
The Project
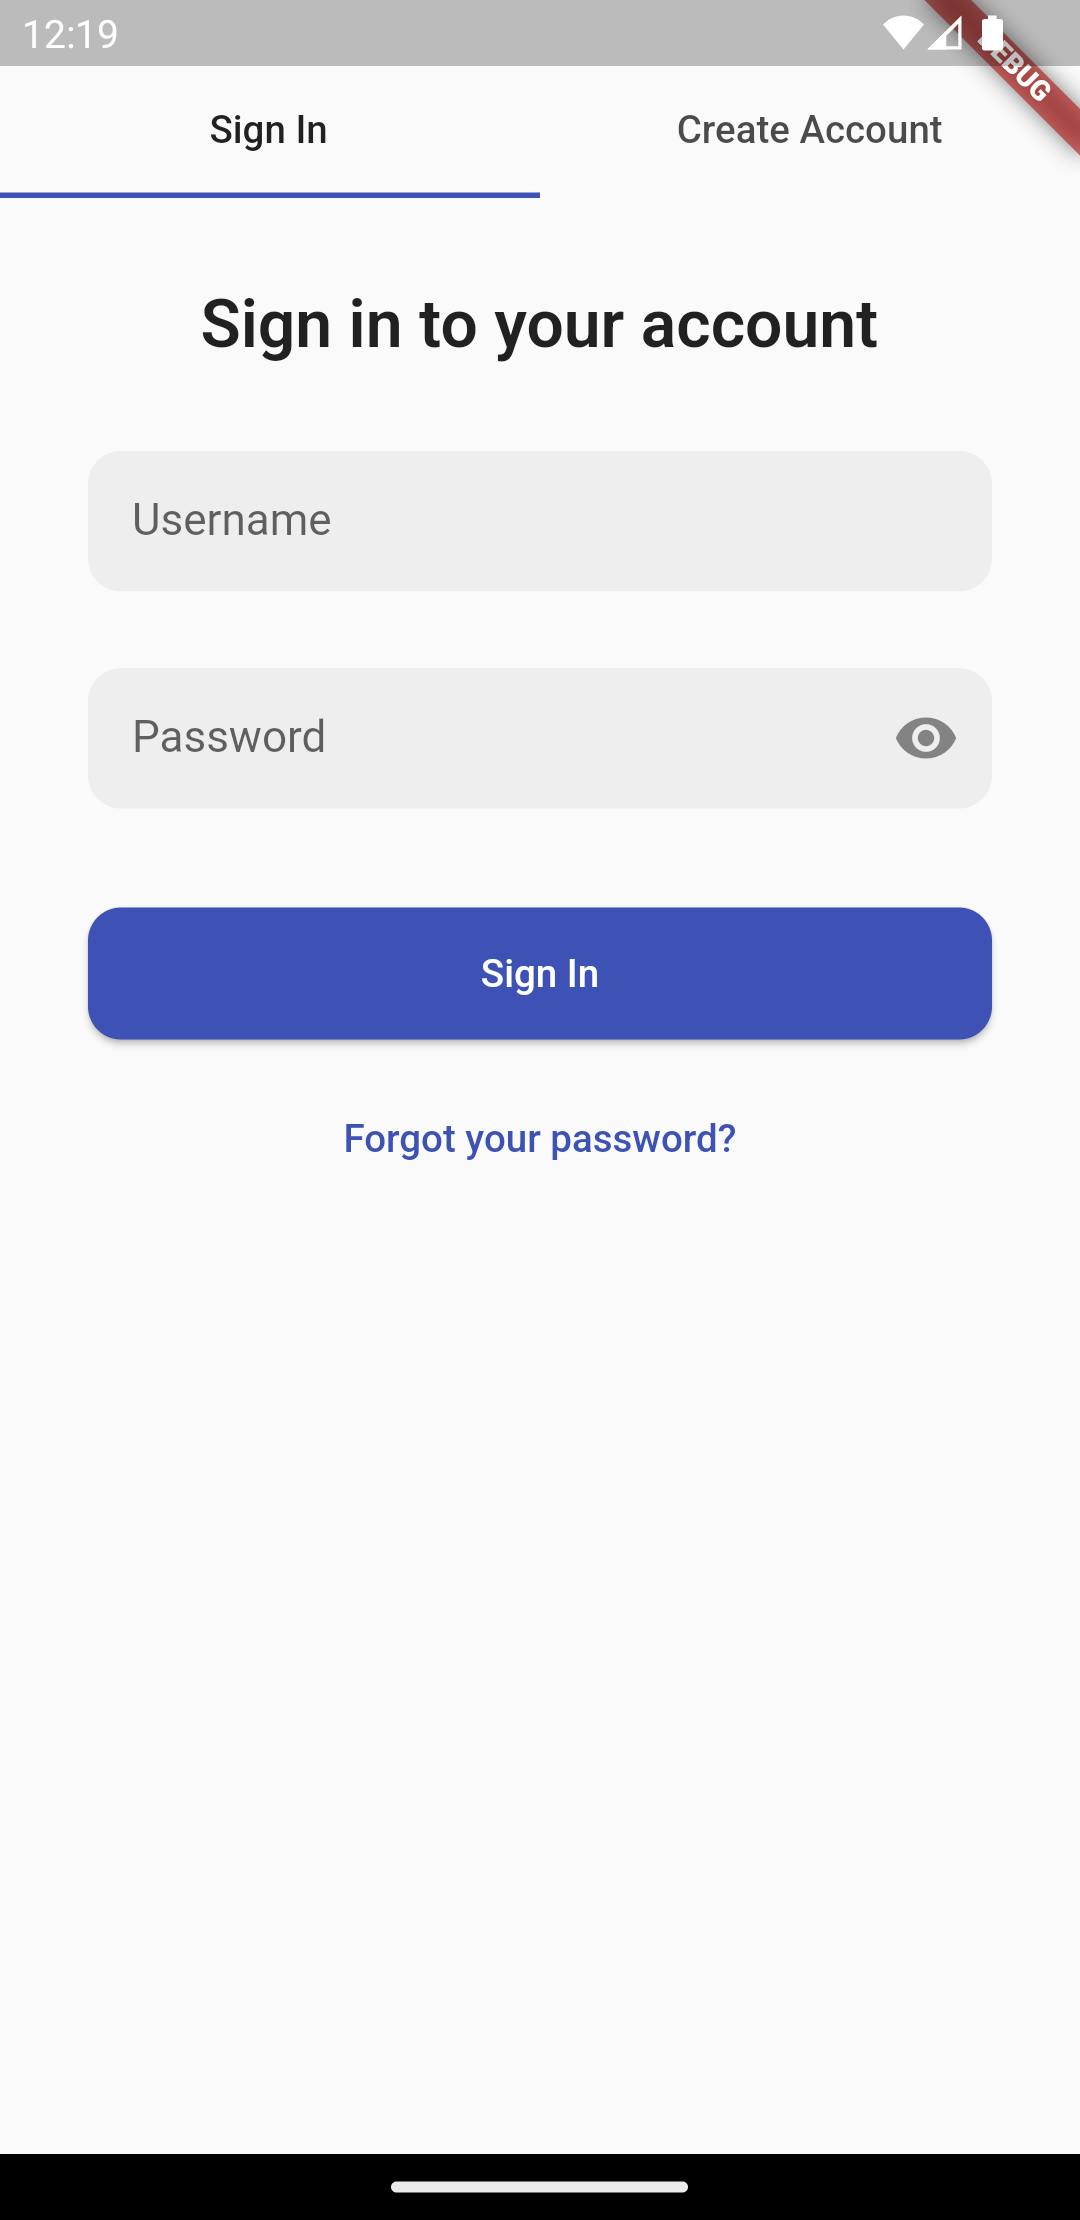
At the end of the tutorial, you will create an app like above. The app already has a fully implemented realtime GraphQL database and authentication with a username (including email verification).
This is an opinionated Flutter project for starting with AWS Amplify and Flutter. The libraries , state management and the folder structure are created out of personal preferences that I have seen working really well.
The project uses:
- Amplify Authenticator, creating the sign in/sign up experience
- Amplify Datastore for saving data and real time updates
- bloc for state management.
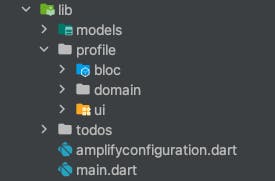
The folder structure is defined per feature. Each feature contains a bloc, domain and ui subfolders to keep the business logic, domain information and ui elements respectively.
models folder and amplifyconfiguration.dart folders are generated automatically by using Amplify CLI.
What is mason?
mason is a template generator which helps teams generate files quickly and consistently. It takes adventage of mason CLI which allows developers to create and consume reusable templates called bricks powered by the mason generator.
These templates (bricks) are hosted at brickhub.dev. You can have multiple bricks to compose a mason project.
For creating a mason project run the following command on the terminal:
# Activate from https://pub.dev
dart pub global activate mason_cli

# Create a folder with the package and navigate there
mkdir <project-name>
cd <project-name>

# Initialize mason
mason init
This will generate two files for you. mason.yaml file is the file to keep your brick references. mason-lock.json will be automatically updated with the information that you provide from the yaml file.
Open your mason.yaml file and update the file as follows:
# (1)
bricks:
  # (2)
  amplify_starter: 0.2.2
- (1): bricks holds all the bricks provided by the brickhub.dev
- (2): amplify_starter is a highly opinionated AWS Amplify starter project with Authenticator, Amplify Datastore and bloc state management.
Once you update the file, save the changes and run the following command on your terminal:
# Get the bricks added
mason get
This command will download all the "new bricks" to your computer. Once it is done you can the following command the use the brick template that you have added before:
# Use the brick with its name
# mason make <brick-name>
mason make amplify_starter
Some bricks might directly create the template, others might be interactive to customize the template for you.
msalihg@ hashnode-example % mason make amplify_starter
? Please enter the name of your project (Amplify Starter) Hashnode Example
? Please enter the organization that app belongs in the "com.example" format (co? Please enter the organization that app belongs in the "com.example" format (com.example) dev.salih
✓ Made brick amplify_starter (0.4s)
Afterwards, it will initialize the Amplify libraries automatically and ask if you would like to push your changes to the cloud. After you pushed your changes, you should see a success message at the very end:
Backend is pushed
Once you see this message a project will be created for your usage. Now you can run the application and test it out!
BONUS: Customizing the UI and adding new features
After you run the application you might be wondering; "All looks good and all but how can I change the UI elements?", "Do I have to stick with the data classes that is provided to me?" and so on. The answer to both question is, you are free to do whatever you want with the template project provided!
Changing UI Elements
Everything that you see under the feature folders are already there for you to play around, if you are not happy about any portion of the code, you can already rip it off and change it with yours.
For the Amplify CLI generated code here is your guide to update the related information:
models Folder Updates
Everything inside the models folder is generated by the amplify/backend/api/apiGraphQl/schema.graphql file. For adding a new object or removing the current one, you can modify that file by following the GraphQL language rules.
After you make changes, run the following command to generate the Dart classes:
# Generate models from schema file
amplify codegen models
After the local heavy lifting is done, now it is time to update the cloud.
# Push changes to Amplify cloud
amplify push
This command will show you what has changed (in the case of models it is api) and ask you if you want to push the changes to the cloud. Say yes and let it do its magic.
Amplify Authenticator UI Updates
Amplify UI is an open-source UI library that brings the simplicity and extensibility of AWS Amplify to UI development.
Easiest way to see the update the UI elements is changing the ThemeData of the application by updating theme and darkTheme properties of the MaterialApp in the root application.
Create a theme.dart file in the root of your project and copy the following code.
import 'package:flutter/material.dart';

// Light theme
final customLightTheme = ThemeData(
  // app's colors scheme and brightness
  colorScheme: ColorScheme.fromSwatch(
    brightness: Brightness.light,
    primarySwatch: Colors.indigo,
  ),
  // tab bar indicator color
  indicatorColor: Colors.indigo,
  textTheme: const TextTheme(
    // text theme of the header on each step
    headline6: TextStyle(
      fontWeight: FontWeight.w600,
      fontSize: 24,
    ),
  ),
  // theme of the form fields for each step
  inputDecorationTheme: InputDecorationTheme(
    contentPadding: const EdgeInsets.all(16),
    floatingLabelBehavior: FloatingLabelBehavior.never,
    fillColor: Colors.grey[200],
    filled: true,
    border: OutlineInputBorder(
      borderRadius: BorderRadius.circular(12),
      borderSide: BorderSide.none,
    ),
  ),
  // theme of the primary button for each step
  elevatedButtonTheme: ElevatedButtonThemeData(
    style: ButtonStyle(
      padding: MaterialStateProperty.all<EdgeInsets>(const EdgeInsets.all(16)),
      shape: MaterialStateProperty.all<RoundedRectangleBorder>(
        RoundedRectangleBorder(borderRadius: BorderRadius.circular(12)),
      ),
    ),
  ),
);

// Dark theme
final customDarkTheme = ThemeData(
  colorScheme: ColorScheme.fromSwatch(
    brightness: Brightness.dark,
    primarySwatch: Colors.indigo,
  ),
  indicatorColor: Colors.indigo,
  textTheme: const TextTheme(
    headline6: TextStyle(
      fontWeight: FontWeight.w600,
      fontSize: 24,
      color: Colors.white,
    ),
  ),
  inputDecorationTheme: InputDecorationTheme(
    contentPadding: const EdgeInsets.all(16),
    floatingLabelBehavior: FloatingLabelBehavior.never,
    fillColor: Colors.grey[700],
    filled: true,
    border: OutlineInputBorder(
      borderRadius: BorderRadius.circular(12),
      borderSide: BorderSide.none,
    ),
  ),
  elevatedButtonTheme: ElevatedButtonThemeData(
    style: ButtonStyle(
      padding: MaterialStateProperty.all<EdgeInsets>(const EdgeInsets.all(16)),
      shape: MaterialStateProperty.all<RoundedRectangleBorder>(
        RoundedRectangleBorder(borderRadius: BorderRadius.circular(12)),
      ),
    ),
  ),
);
Afterwards, open the main.dart file and update the MaterialApp widget in the build function as follows:
if (snapshot.connectionState == ConnectionState.done) {
  return Authenticator(
    child: MaterialApp(
      theme: customLightTheme,
      darkTheme: customDarkTheme,
      builder: Authenticator.builder(),
      home: const TodosPage(),
    ),
  );
} else {
  return MaterialApp(
    theme: customLightTheme,
    darkTheme: customDarkTheme,
    home: Center(
      child: snapshot.hasError
          ? Text(
              'Something went wrong while configuring Amplify: ${snapshot.error}',
            )
          : const CircularProgressIndicator(),
    ),
  );
}
Now if you run the application, you should see the application UI as below:
You are not bound to these changes though, you can also do a full update on each UI screen with your branded design. Check out the Amplify UI documentation which can show you different ways to update the UI components within the library.
Conclusion
Now you have a foundation to start your hackathon project! For more information about the AWS Amplify libraries you can check the official documentation, if you have any questions regarding to the Amplify and Flutter topics you can either ask it at Amplify Discord or send it to me via DM on Twitter!